Sticker Fab 3D Carbon Door Sill Overlay Part 1 (Lower) - 2022-2026 BRZ – Import Image Racing
Skip to content
Daily Deals. SHOP NOW
Sticker Fab 3D Carbon Door Sill Overlay Part 1 (Lower) - 2022-2026 BRZ / GR86

Sticker Fab 3D Carbon Door Sill Overlay Part 1 (Lower) - 2022-2026 BRZ / GR86

Rated 5.0 out of 5
Based on 1 review
SKU: sfb-22BRZGR86DSOPT1-3DB
Availability: 1 In Stock
Product Type: Interior Accessories
$19.95
$19.95

BuildBUX Rewards

Great news – on this purchase, you'll enjoy a BuildBUX bonus of $0.20.

Subtotal: $19.95
🕒 Order within hours minutes
📦

Fasktrak

$7.99

Estimated: ,

🚚

Express

Starts at $8.99

Loading...

Fastest

Starts at $10.99

Loading...

3D Carbon Door Sill Overlay Part 1 (Lower)

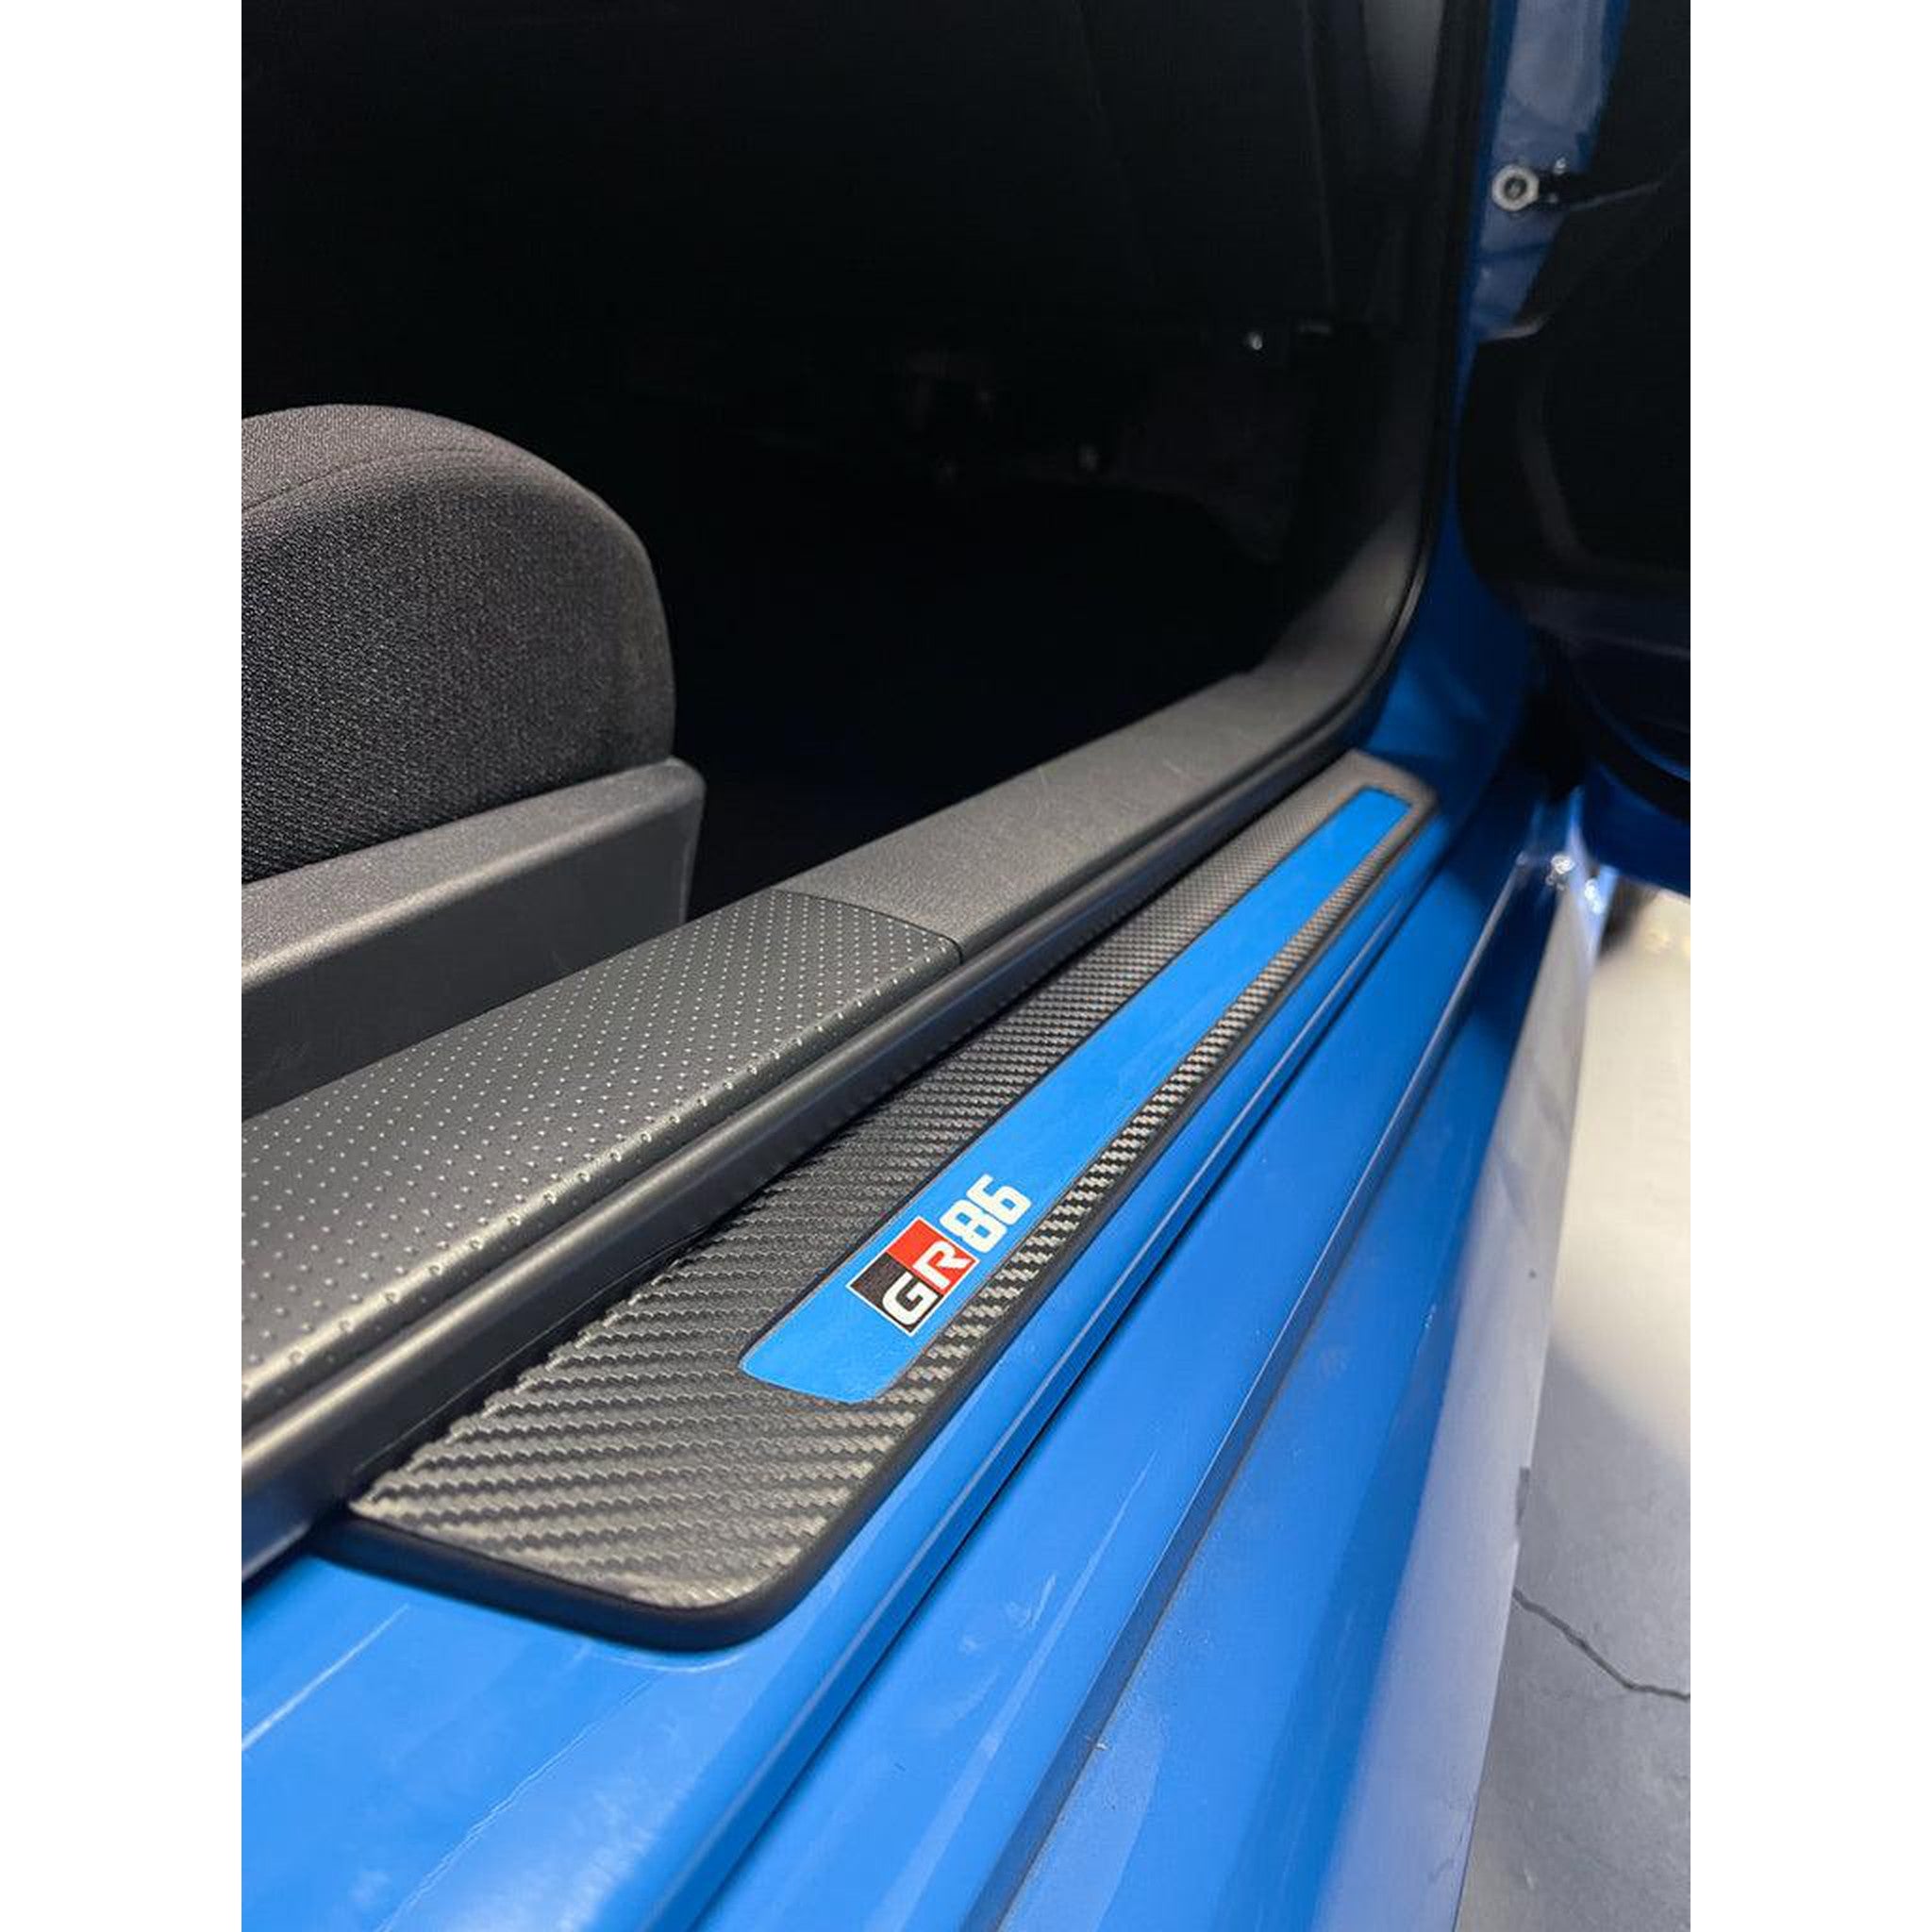
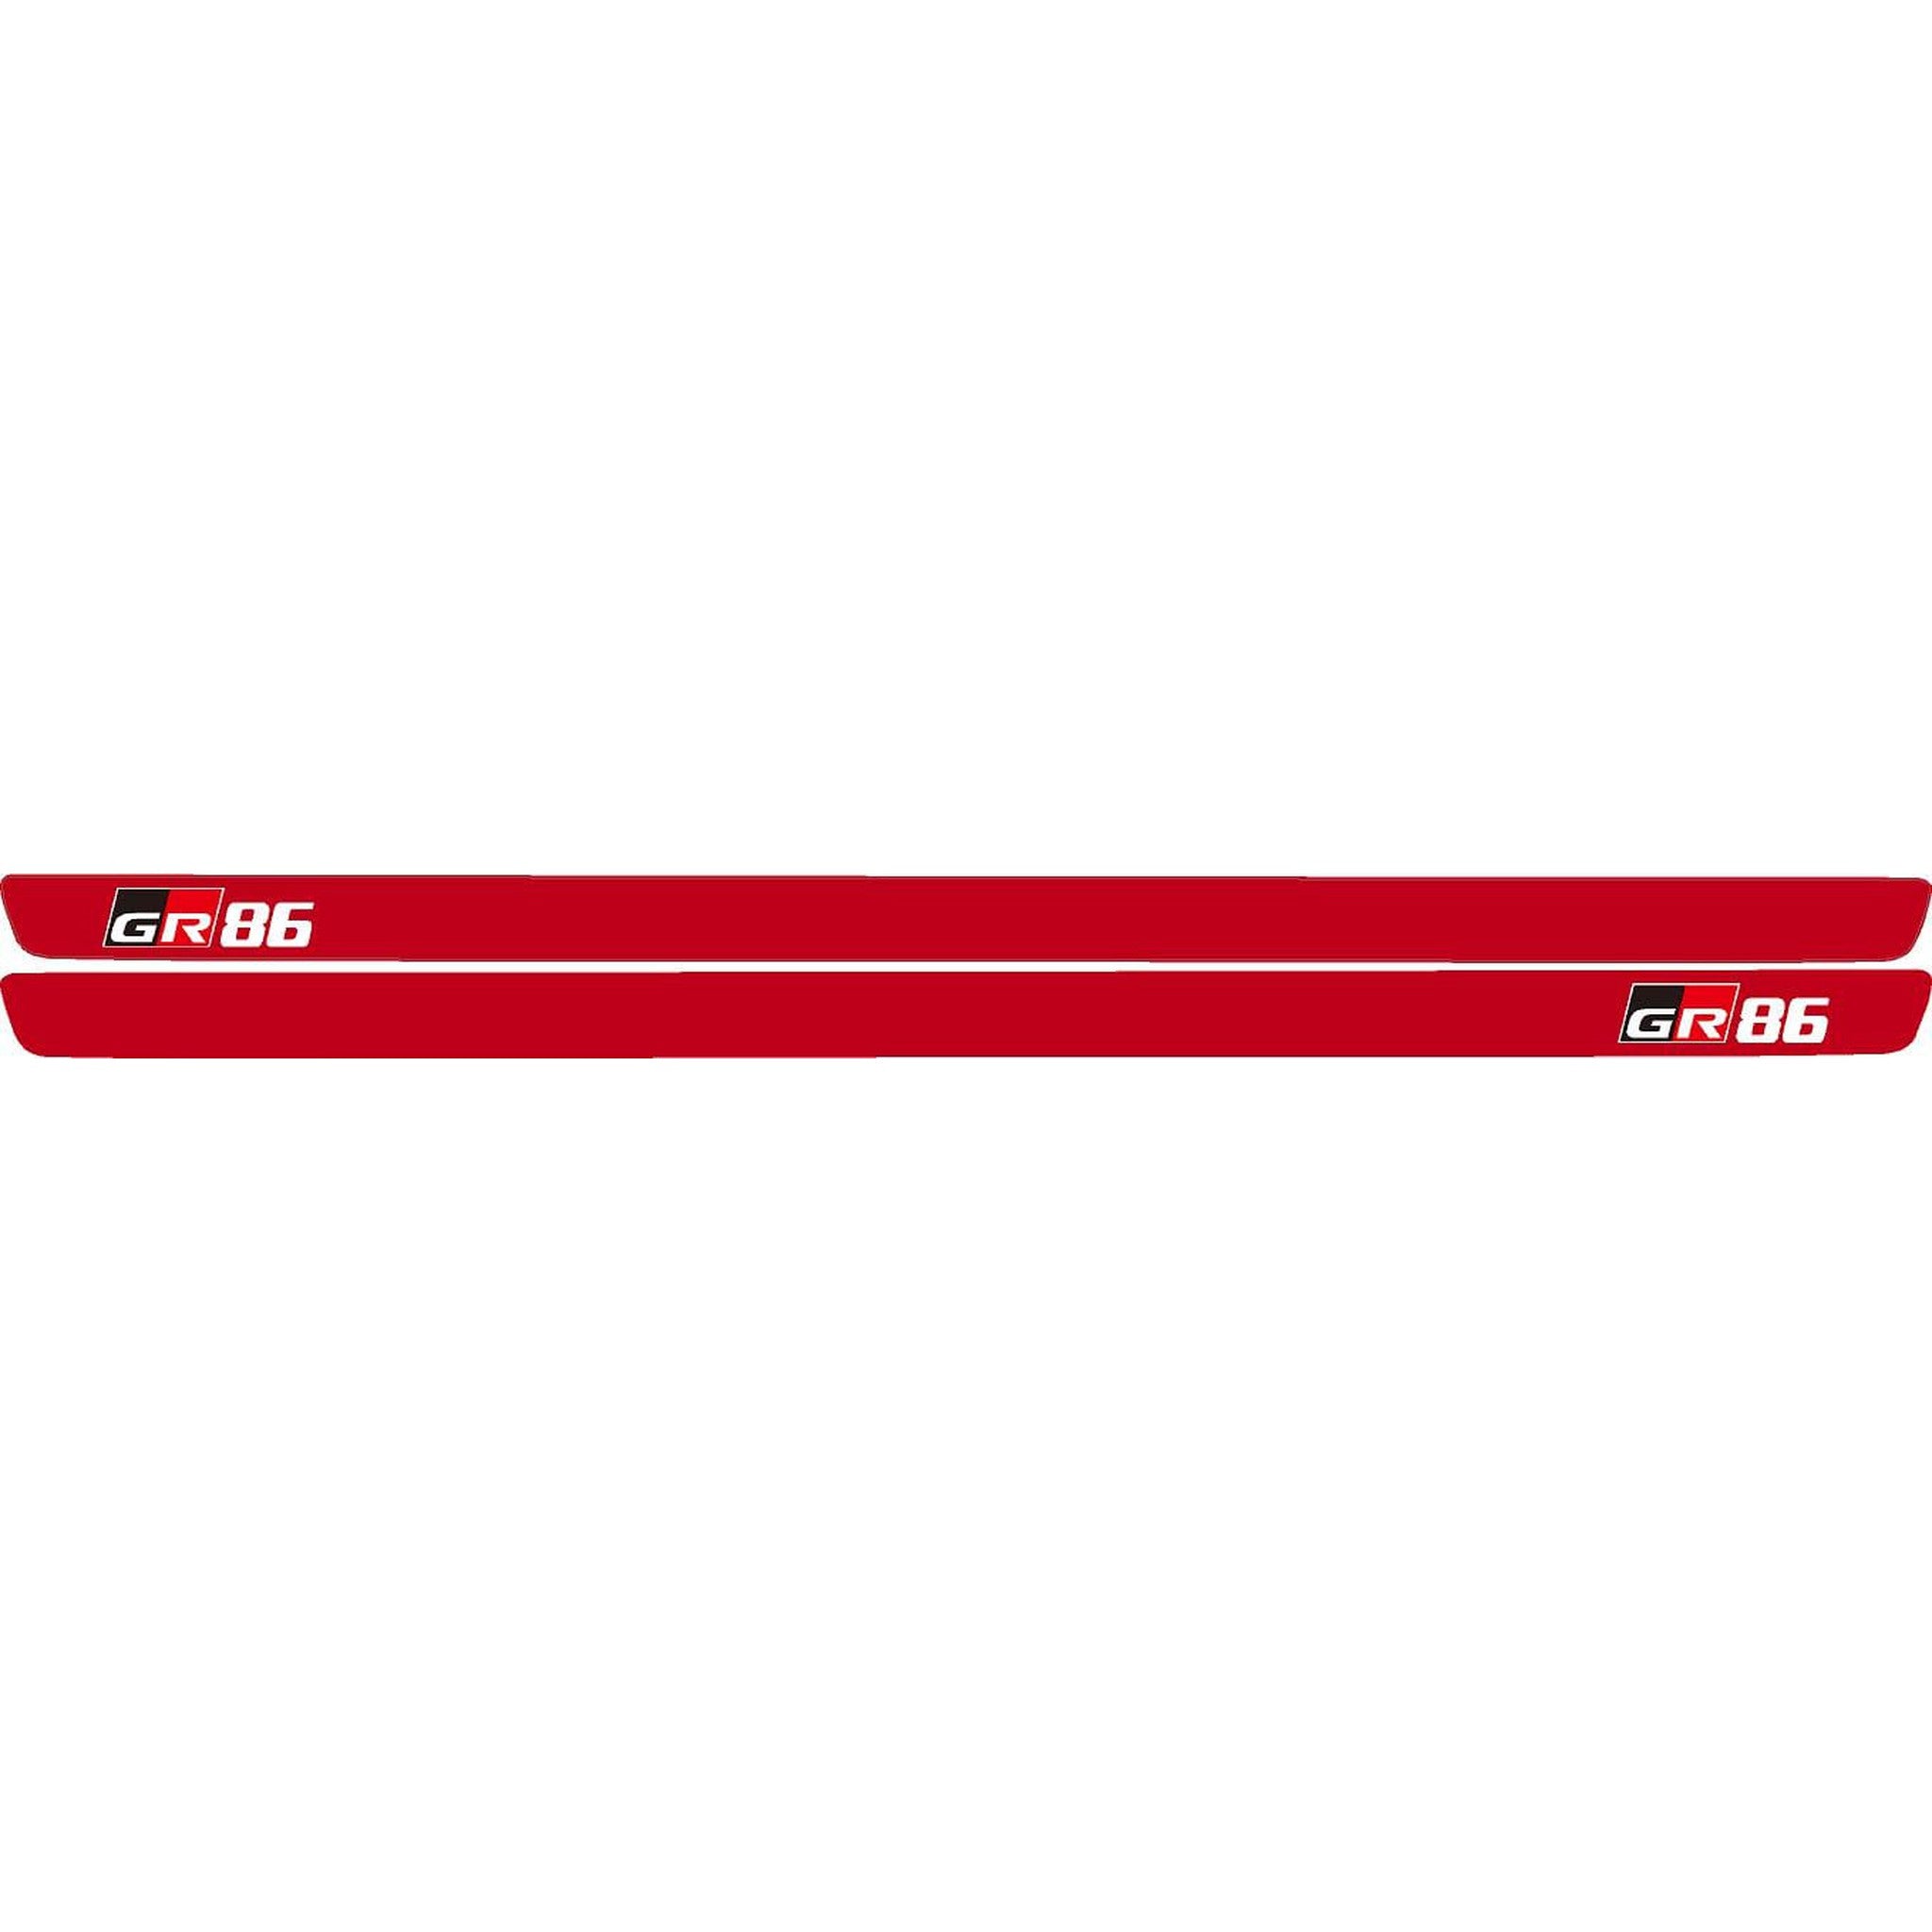
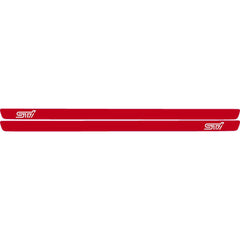
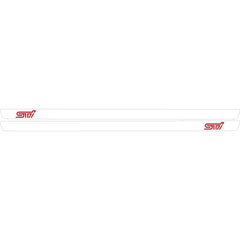
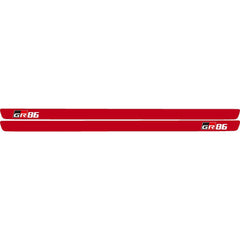
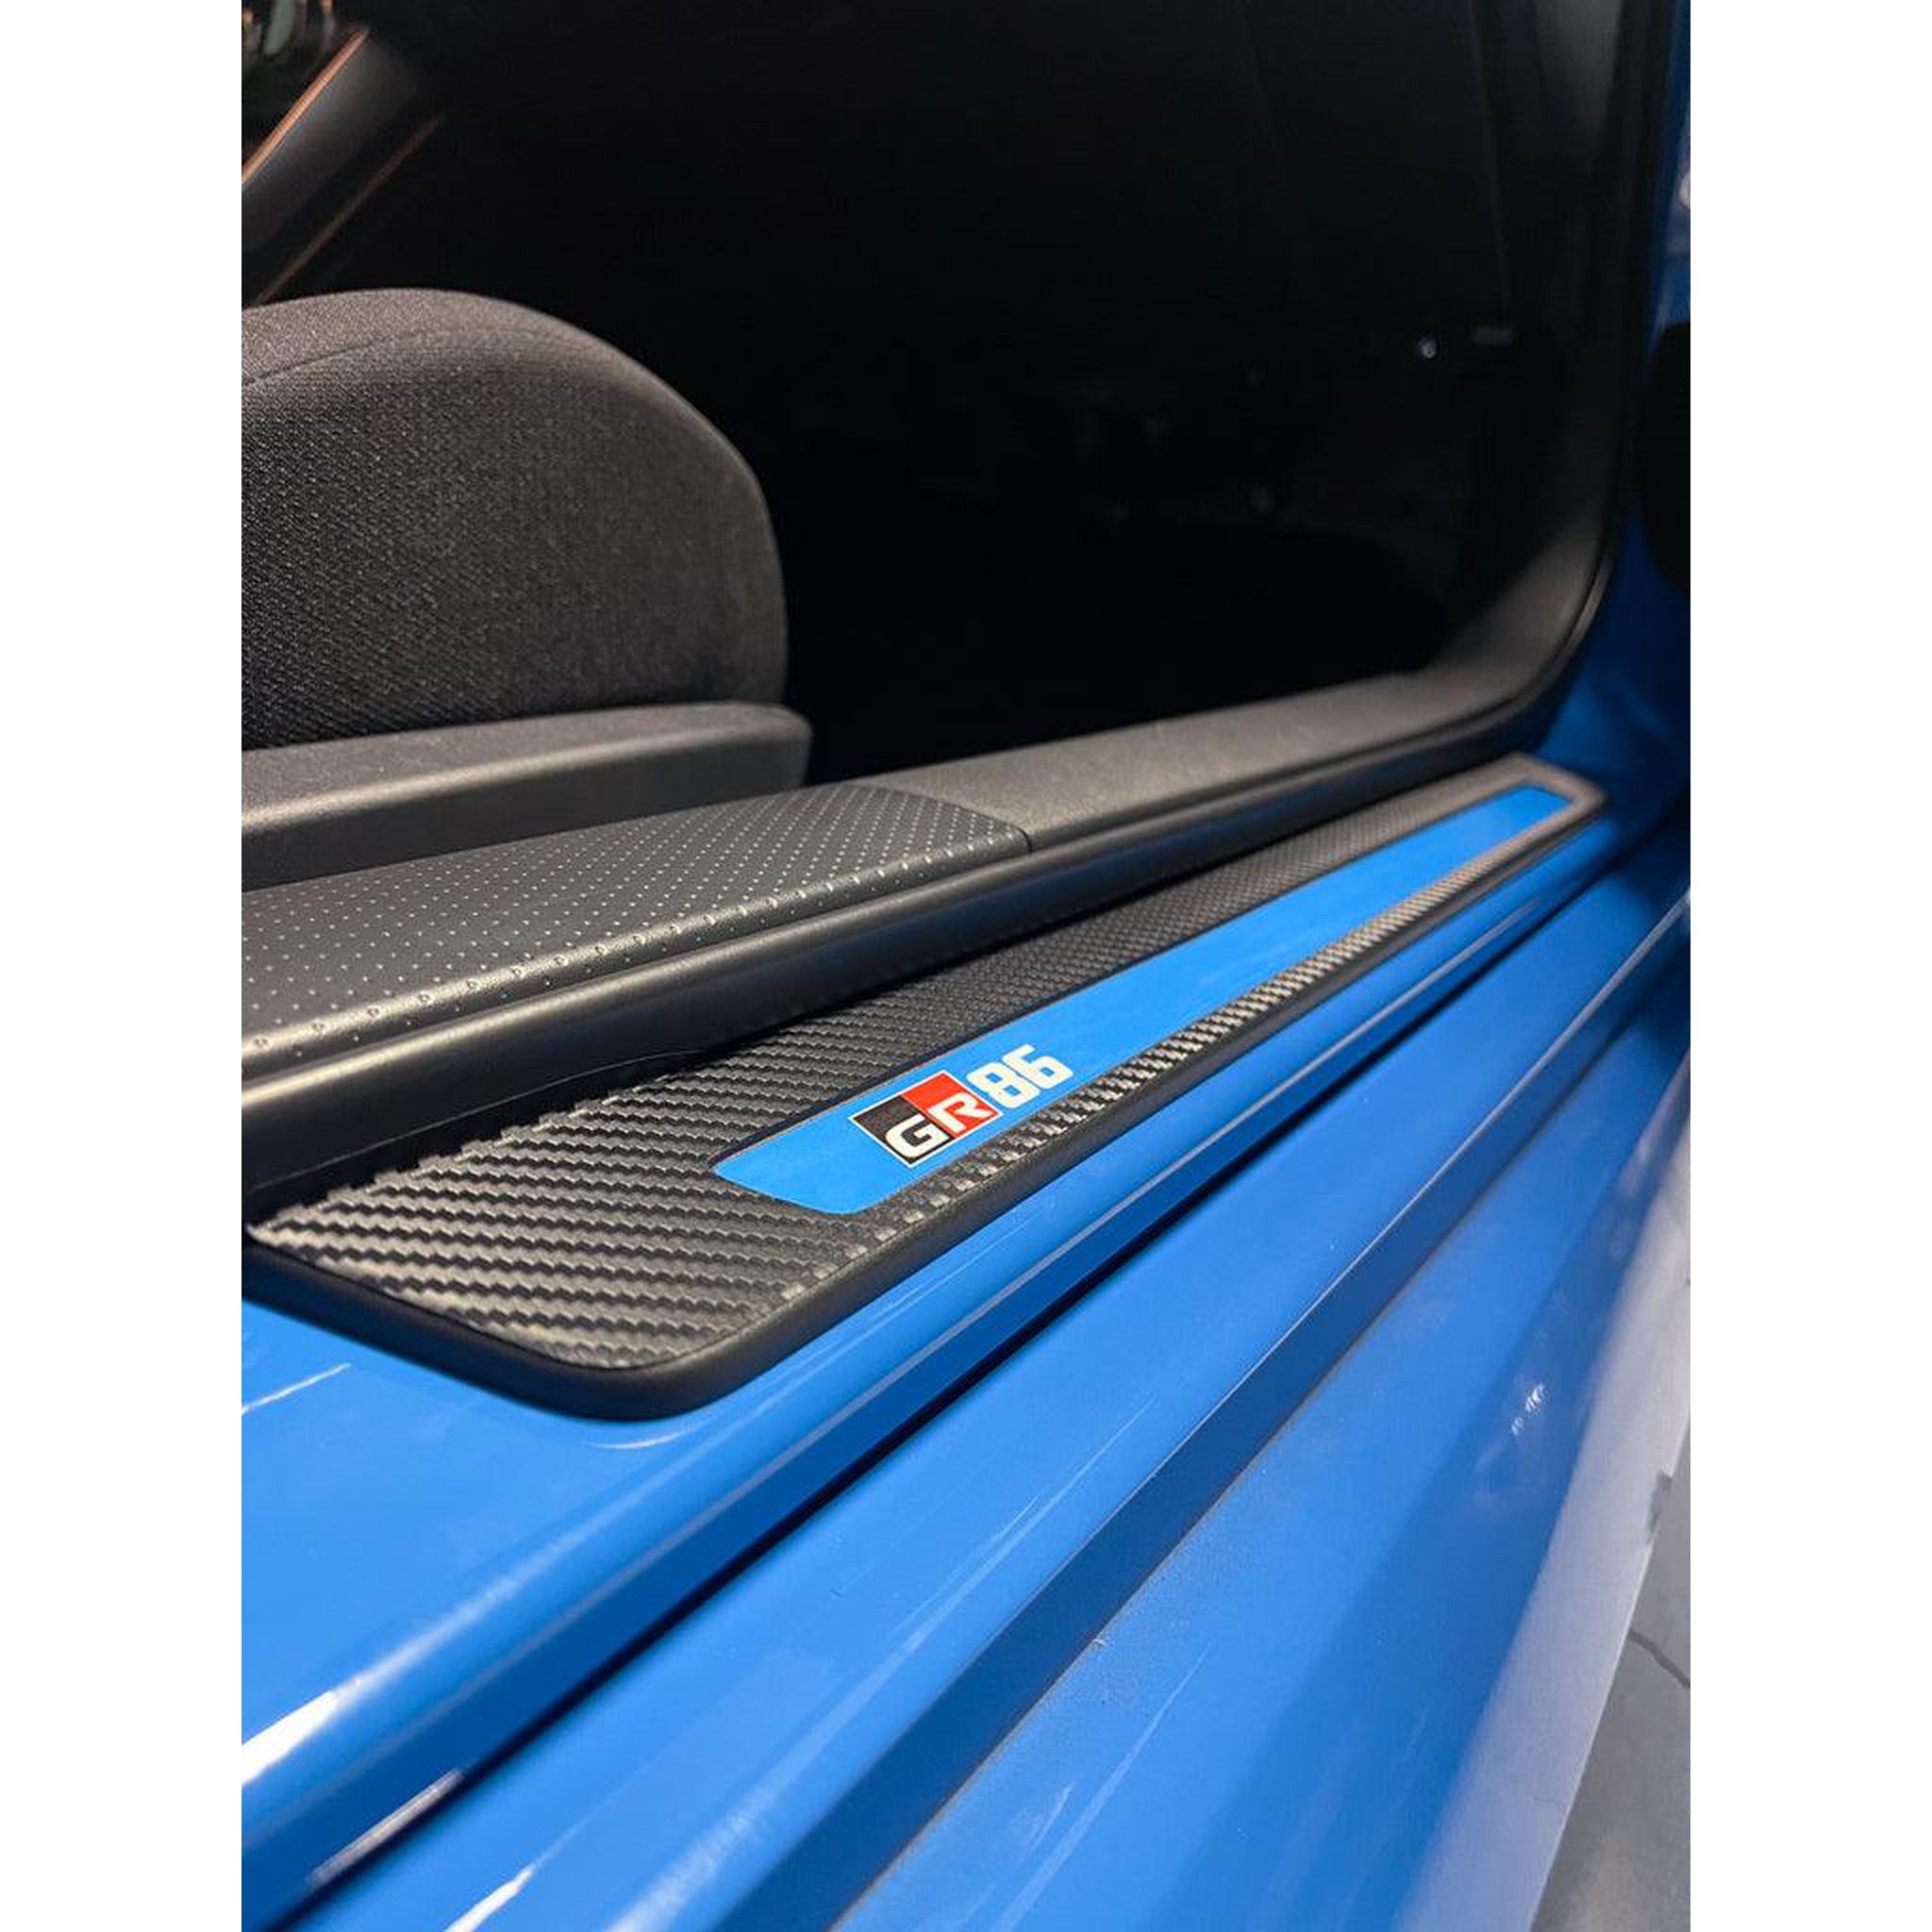
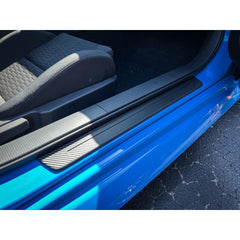
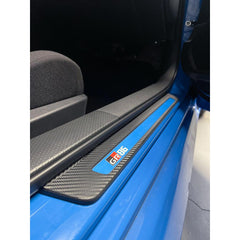
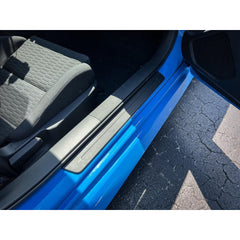
Here's some more vinyl to protect the soft plastic trim on your 2025 BRZ or GR86. The textured 3D Carbon is easy to install with air egress channels and surprisingly durable / scratch resistant.

Includes isopropyl alcohol wipes (2).

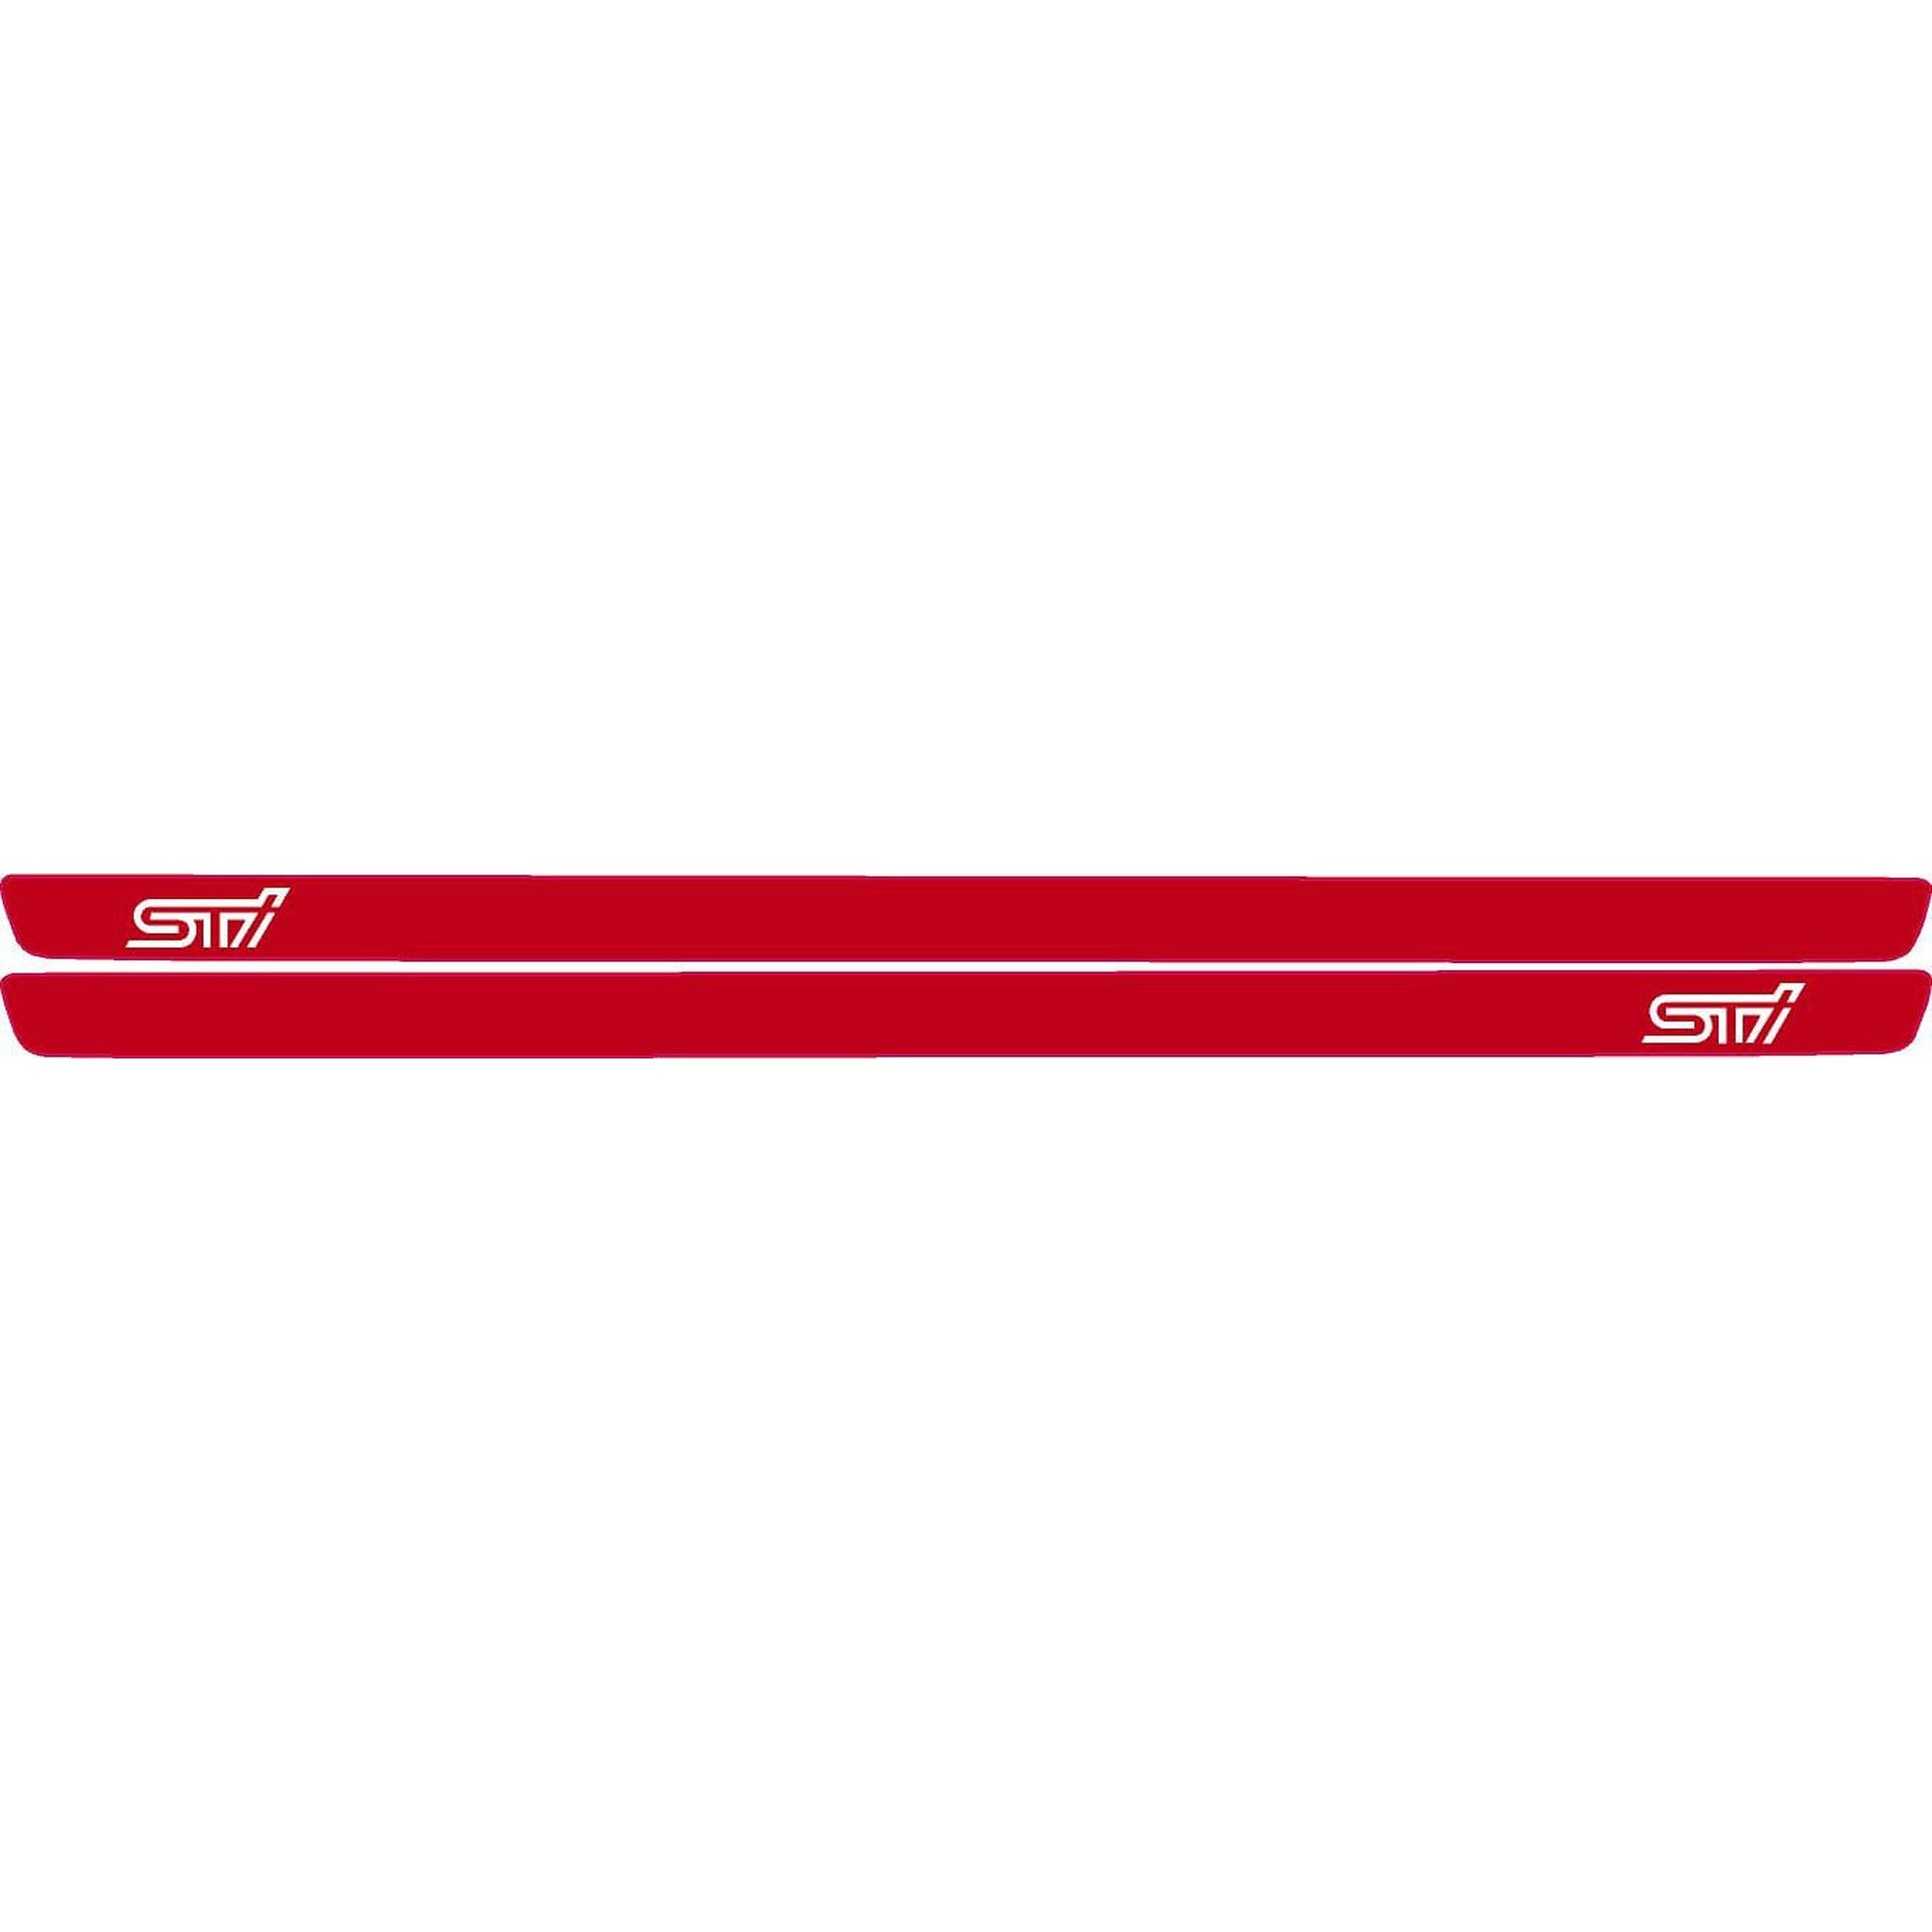
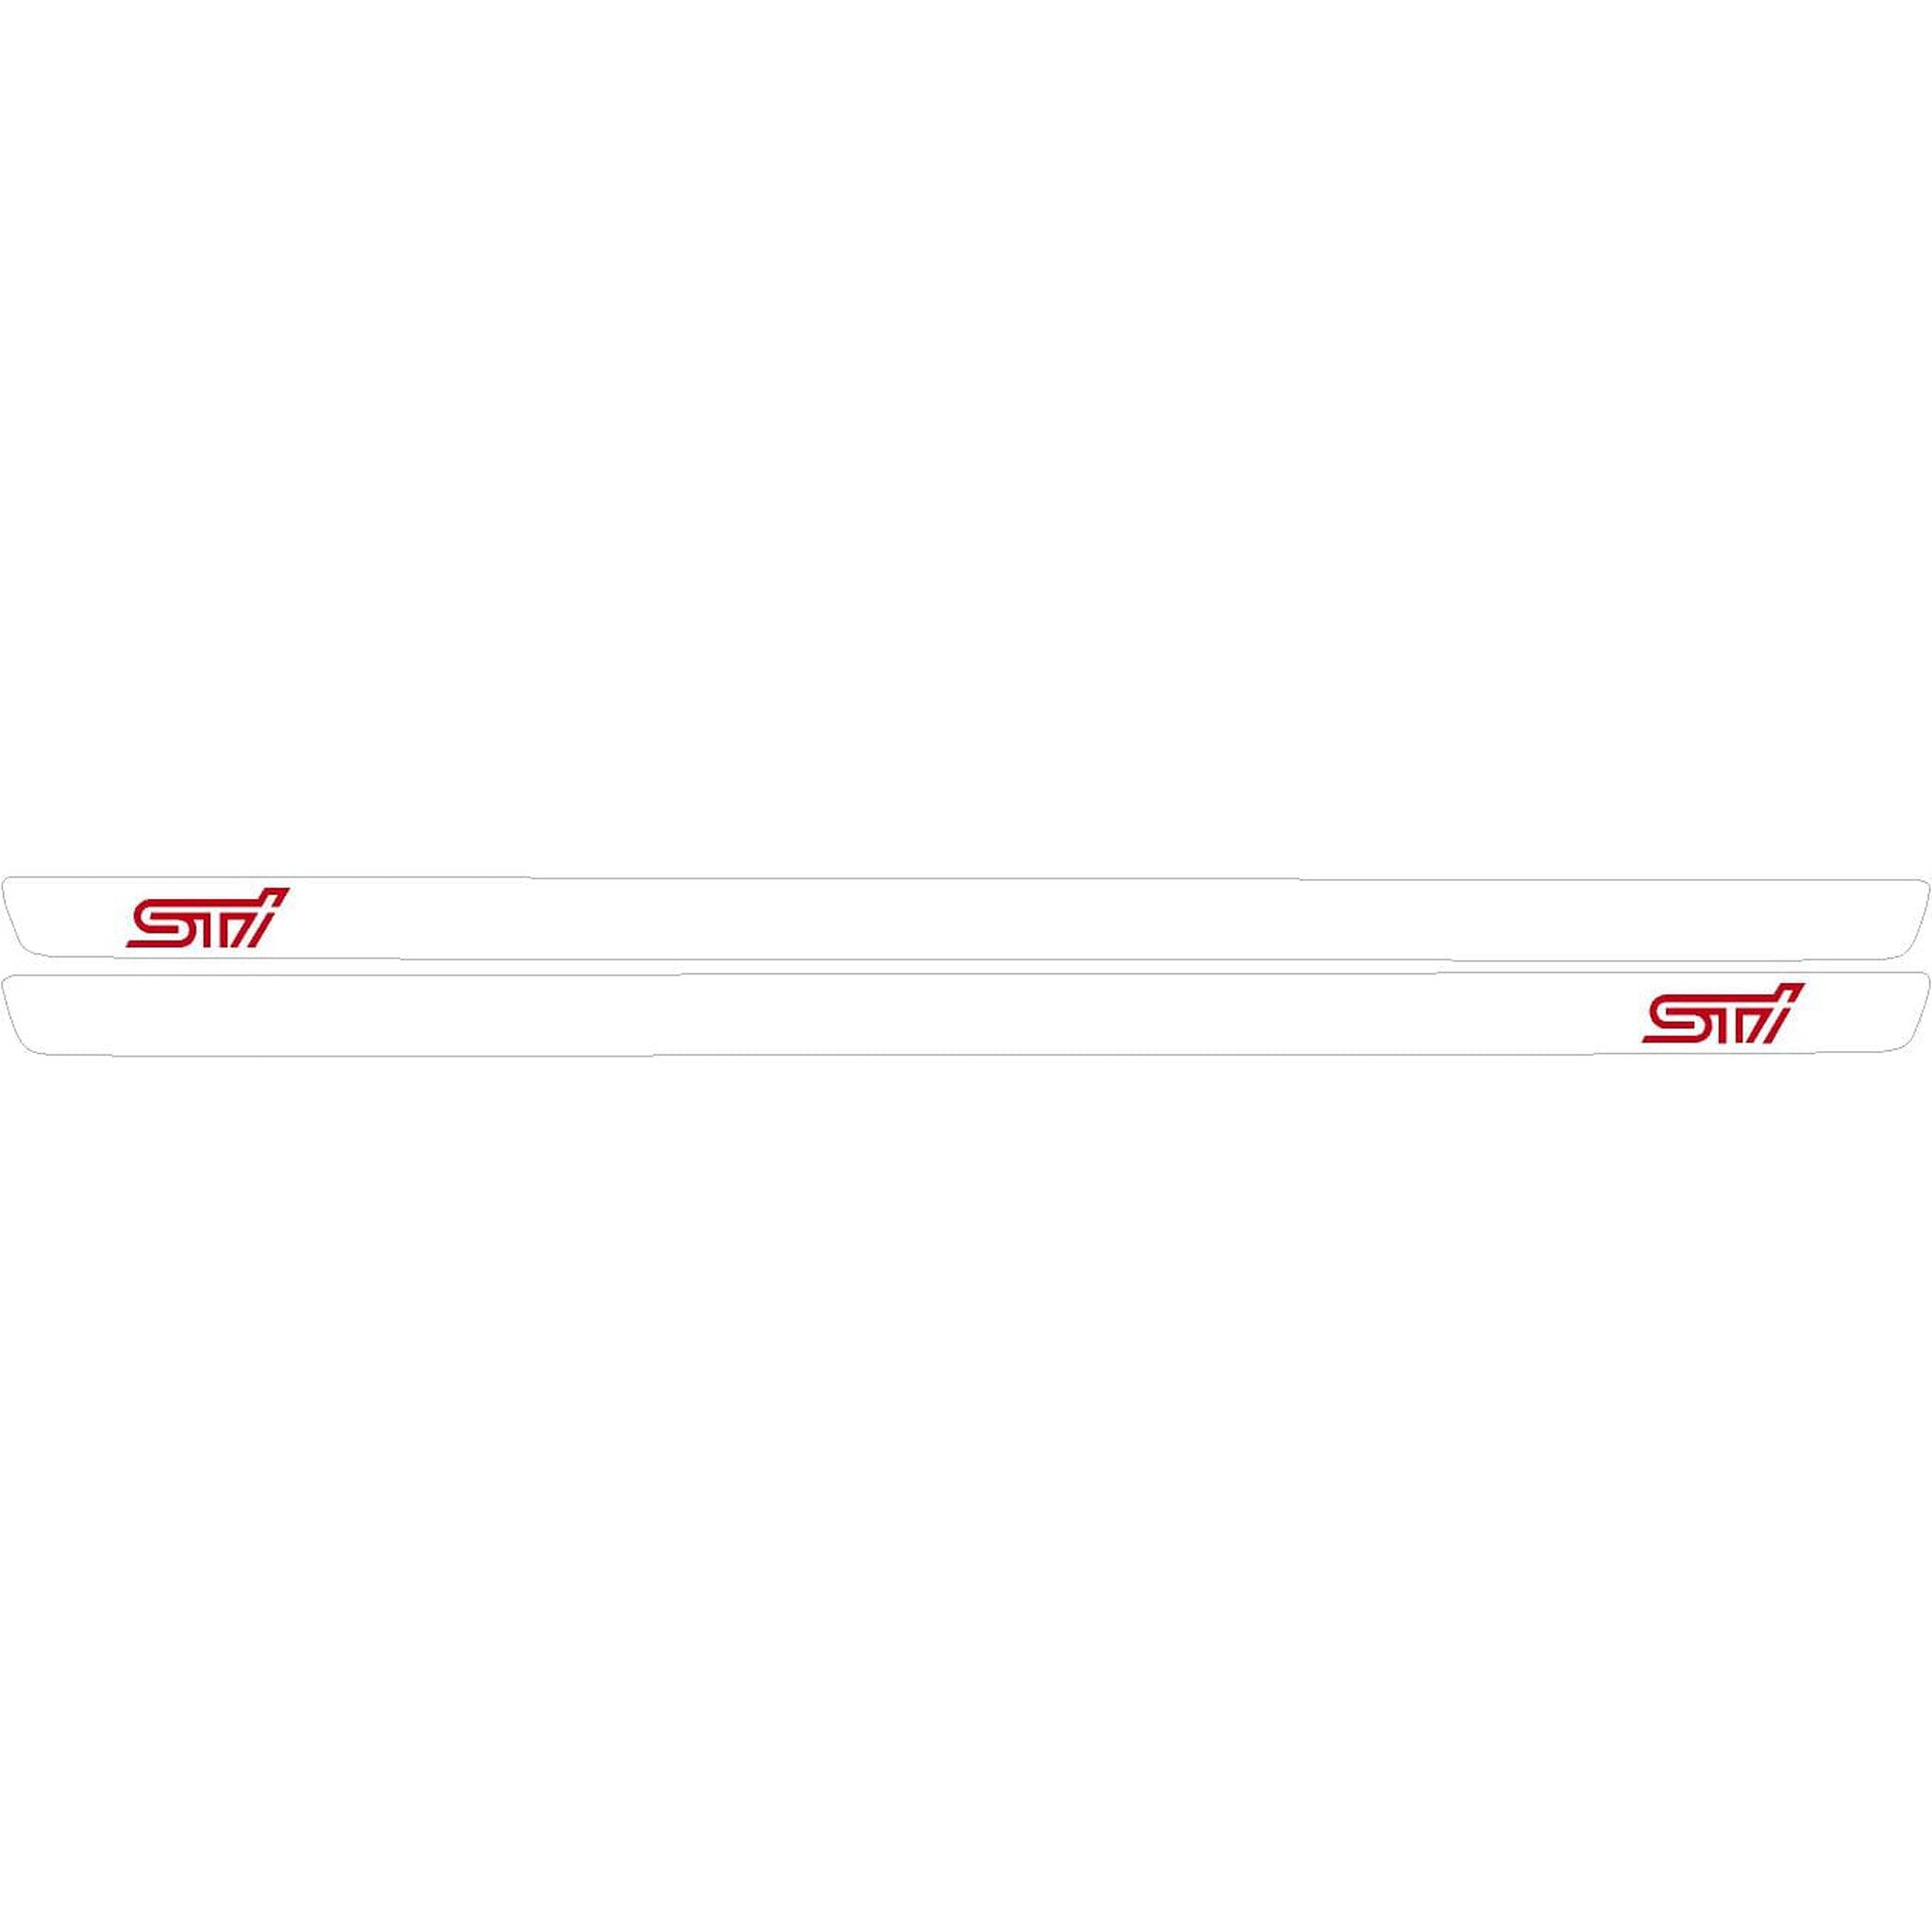
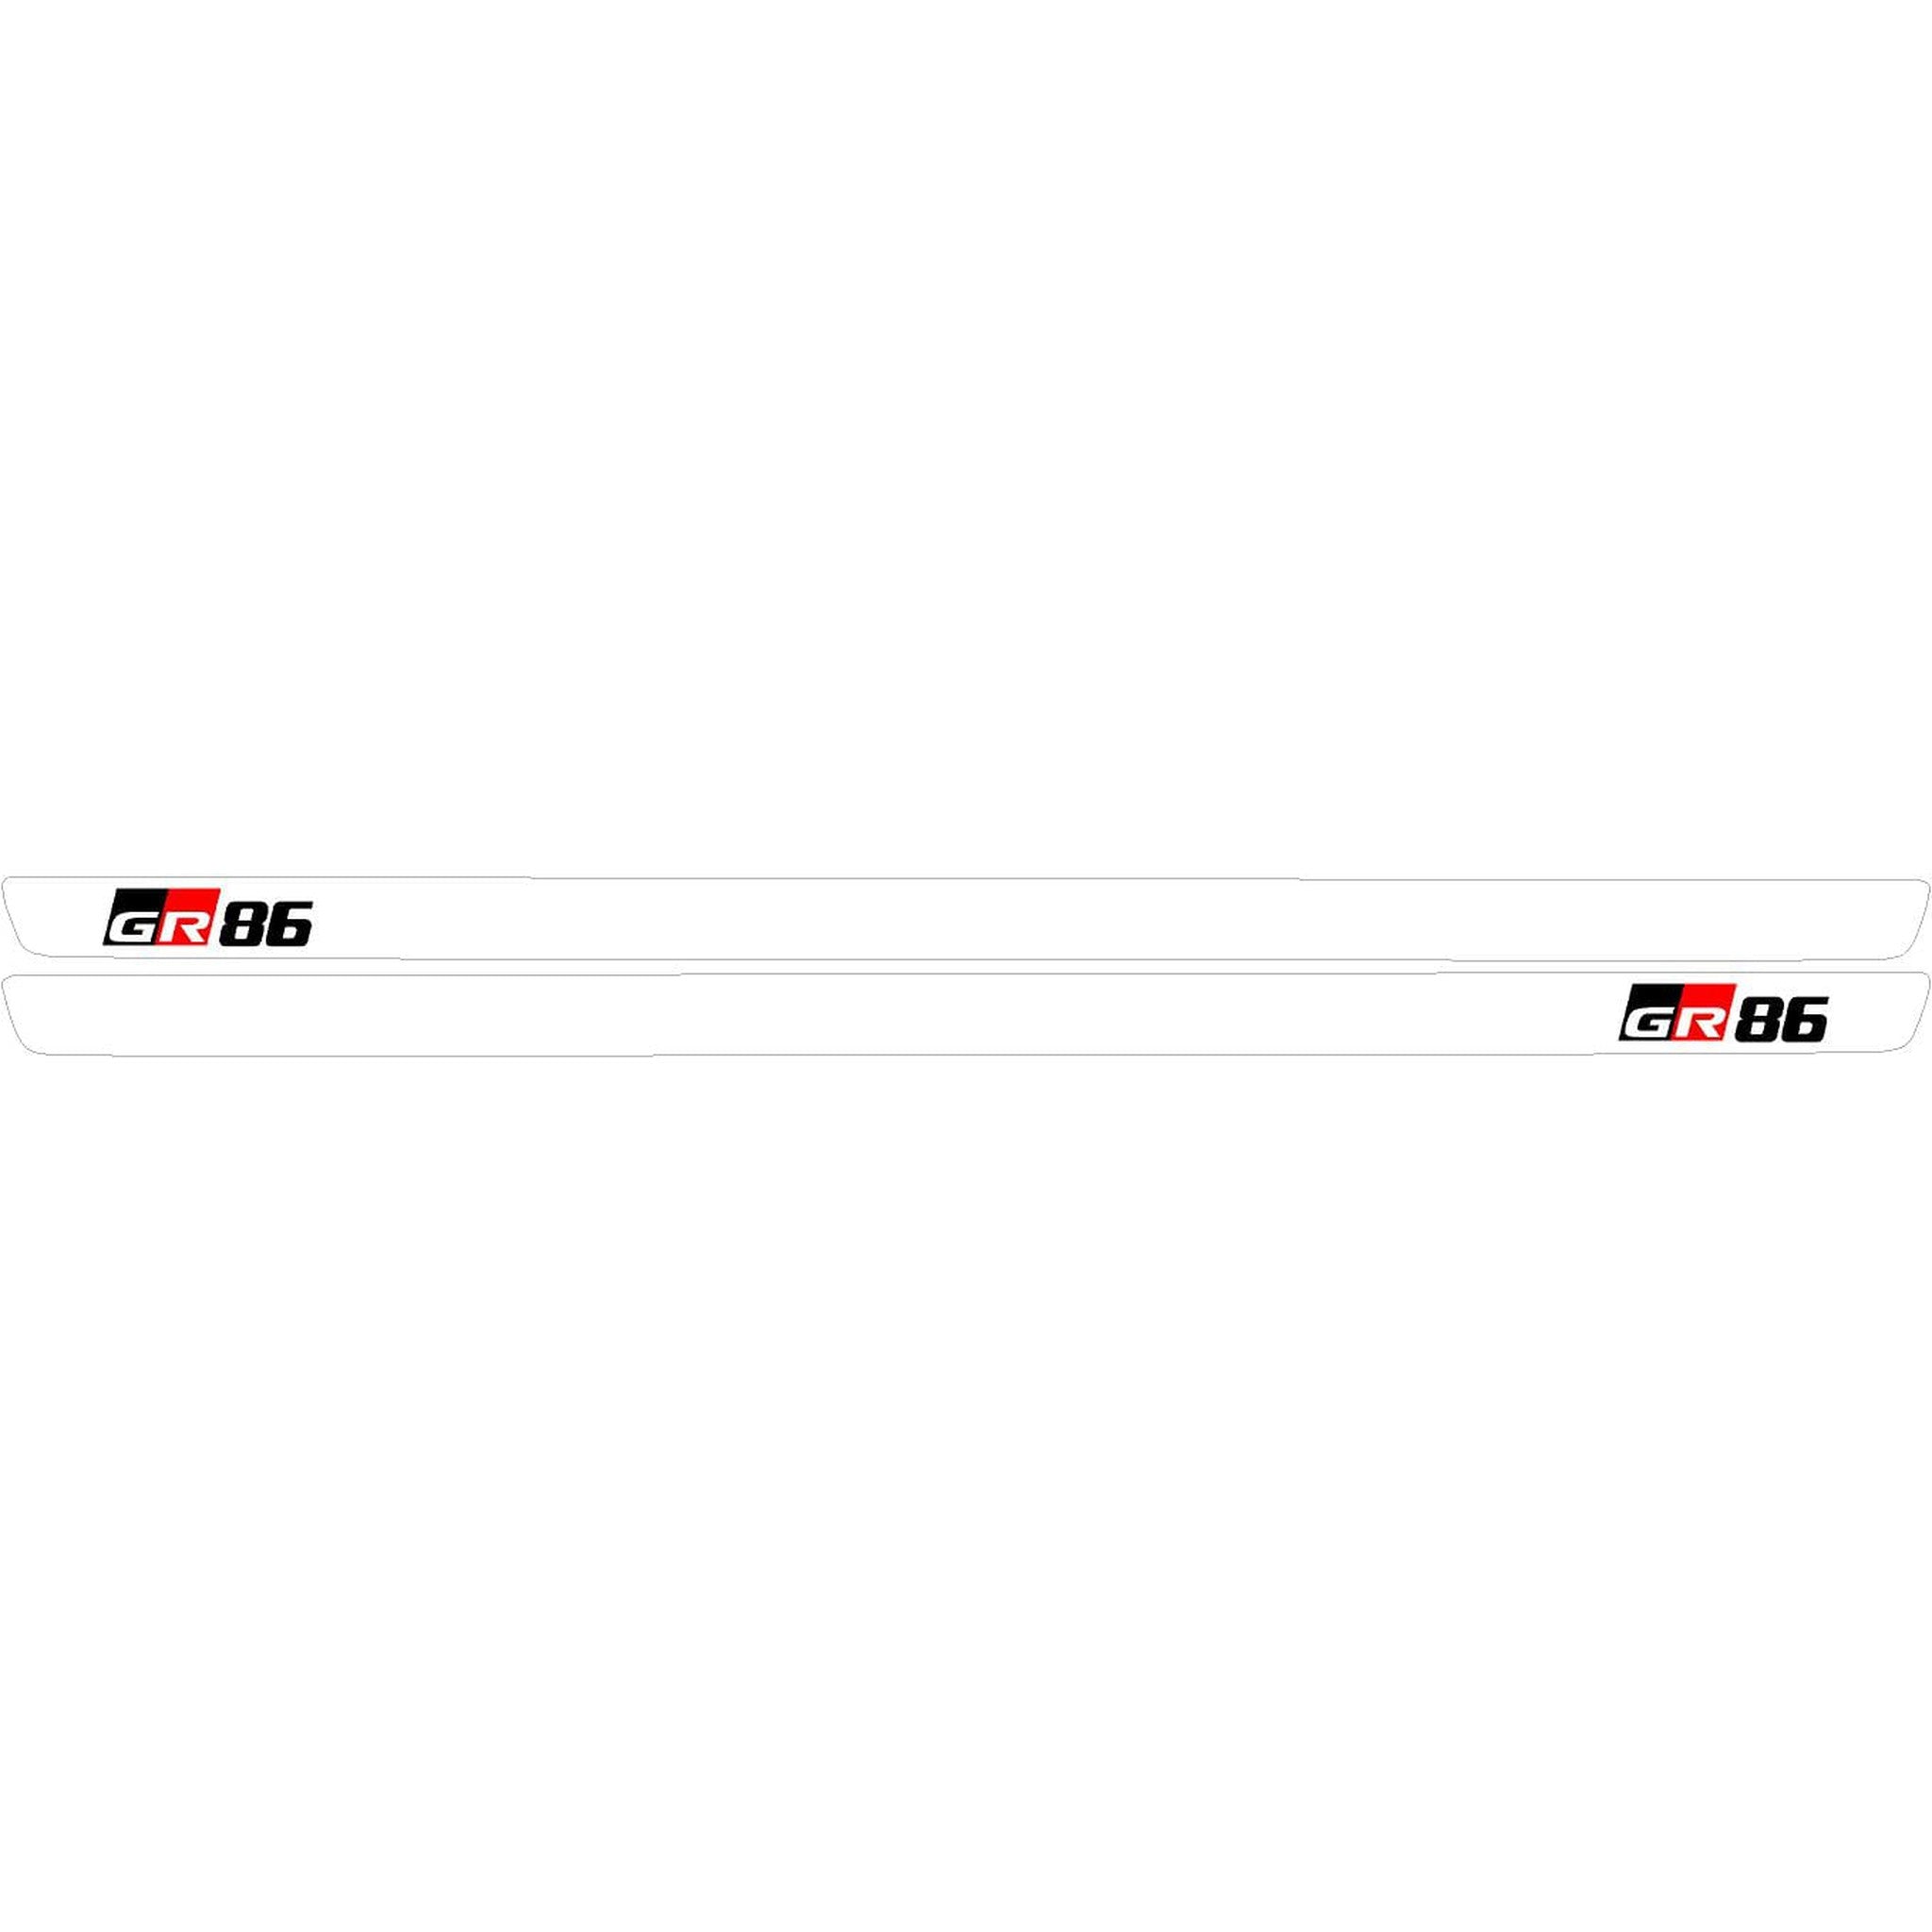
Combinations (please refer to photos when available):

  • BRZ White - White Background with Red BRZ logo (photos coming soon)
  • BRZ Red - Red Background with White BRZ logo (photos coming soon)

    INSTRUCTIONS

    Clean the application and surrounding areas prior to applying. We recommend the following items for installation:

    • Microfiber
    • Detailing Spray
    • Heat Gun or Hair Dryer (optional)

    Make sure the area is clean and free from any product similar to Armor All. Pull the rubber and plastic trim behind the application area up slightly. This will let you pop out the trim piece we are covering.

    Take the trim piece we are applying vinyl to inside. This will make the installation much easier. Align and install the material. Do this using a dry installation as the material is forgiving. Only when you have proper alignment can you use light heat and pressure to activate the adhesive and make it bond to the trim better.

    Reinstall when finished. If you are purchasing our color inserts, you can install these using a wet install. Apply soapy water (1 cup of water with a drop of dish soap) or use our StickerFab Application Fluid to wet the back of the vinyl.

    Align and then push out the soapy water or application fluid. Allow to dry and use light heat if needed.


    average rating 5.0 out of 5
    Based on 1 review
    • 5 Stars
      1 Review
    • 4 Stars
      0 Reviews
    • 3 Stars
      0 Reviews
    • 2 Stars
      0 Reviews
    • 1 Star
      0 Reviews
    100% of reviewers would recommend this product to a friend
    Review posted
    Reviewed by Lindsey R.
    Verified Buyer
    Rated 5 out of 5

    Nice quality

    Nice quality. Lined up well

    Loading...
    I recommend this product
    Was this helpful?

    Reasons to get BuildBUX GOLD?
    We could name a few

    BuildBUX Gold: $4.98/mo

    More Cashback

    Get more cashback! Items are changing weekly. Anywhere from 1% to 20% Back in BuildBUX when you make purchases. Products

    Free Money

    Every month when you are charged your $4.98 subscription fee, you will get $15 in BuildBUX

    Easy To Cancel

    Cancel anytime, month to month terms.

    Get Started

    BuildBUX: Free

    Cashback

    Get 1% back on every purchase on eligible brands.

    Free

    Completely free to use. Just place an order!

    Get Started

    Thanks for subscribing!

    This email has been registered!

    Shop the look

    Choose Options

    Edit Option
    is added to your shopping cart.

    Choose Options

    this is just a warning
    Login