


Review posted
Reviewed by Adam W.
Verified Buyer
Looks great
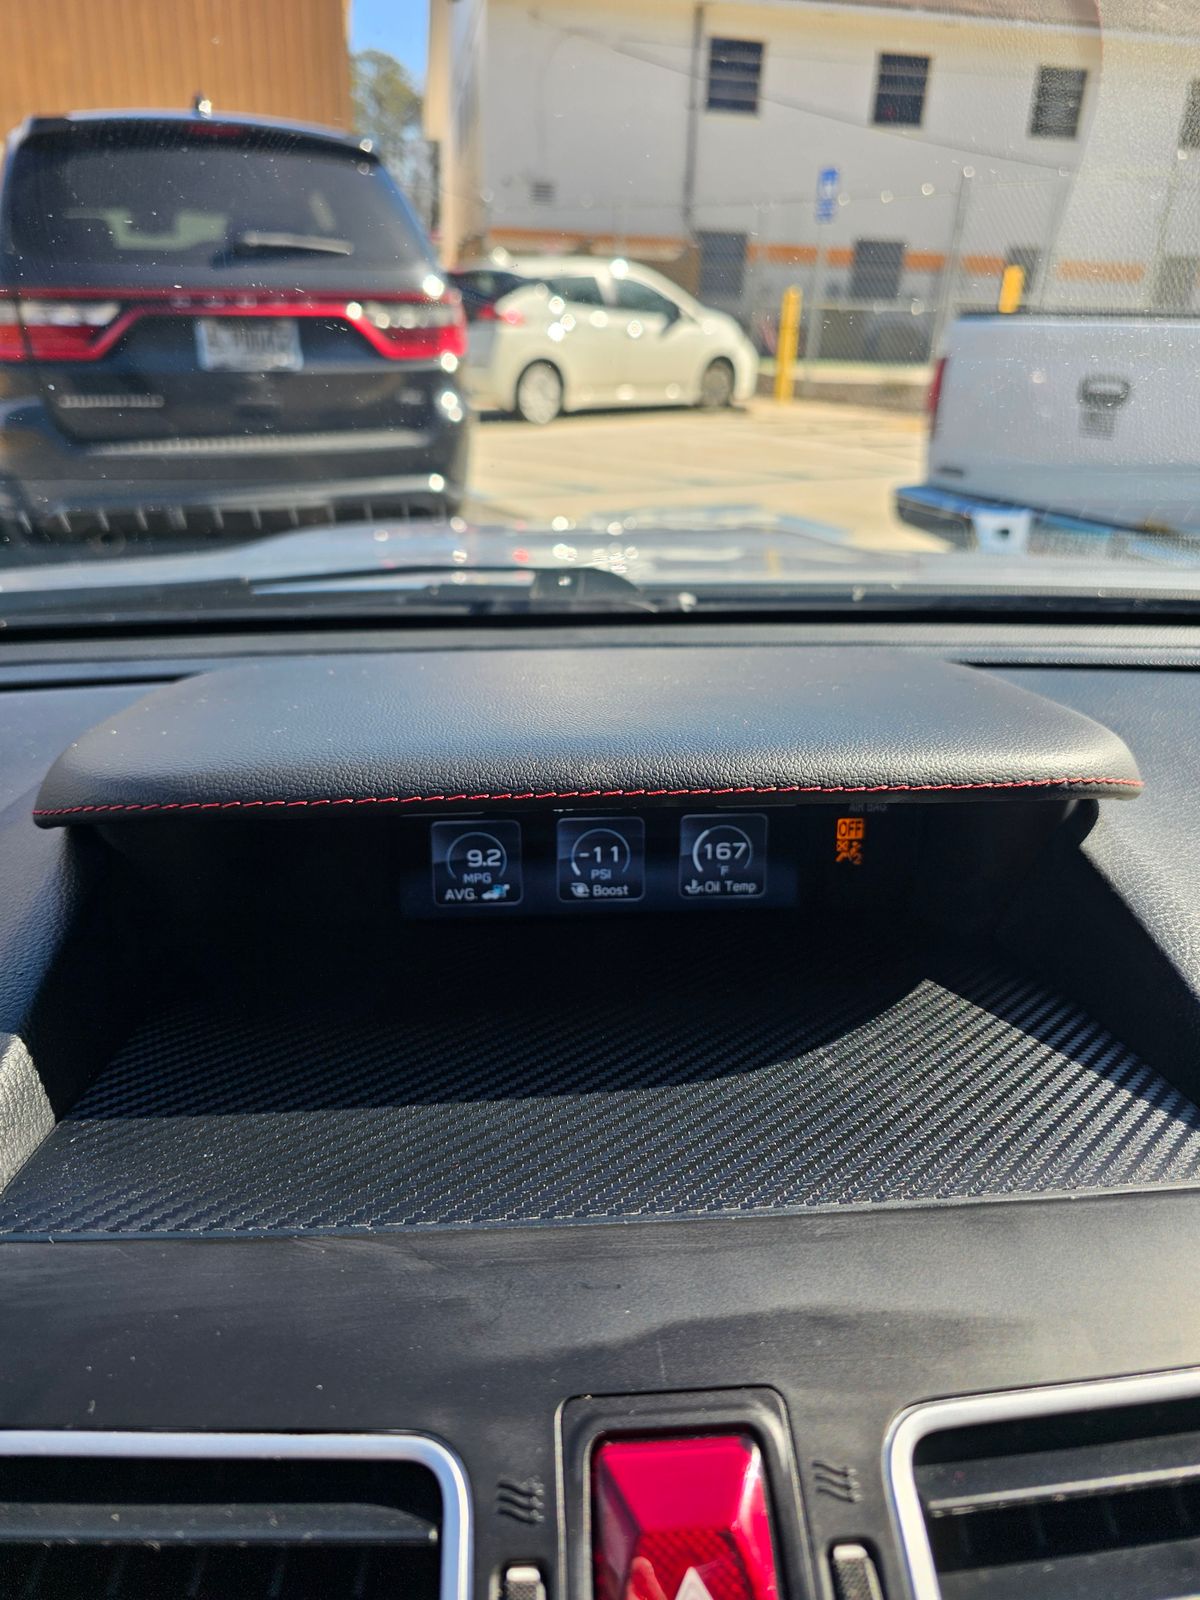
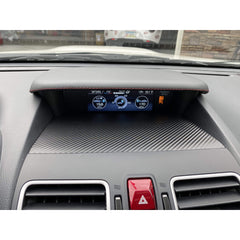
Easy application, I think it's a good spot to add a carbon fiber look for the interior.
Loading...
I recommend this product
Was this helpful?


Great news – on this purchase, you'll enjoy a BuildBUX bonus of $0.20.
Regular Price: $29.95 - Instant discount: $10.00 = $19.95
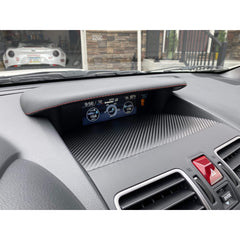
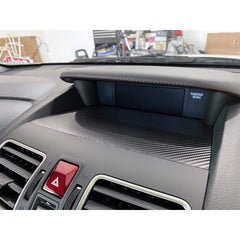
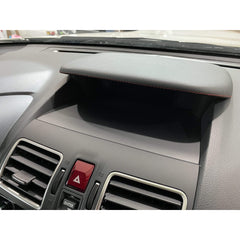
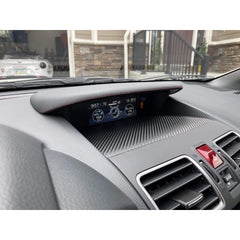
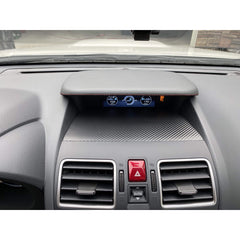
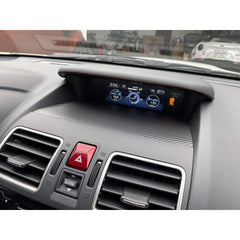
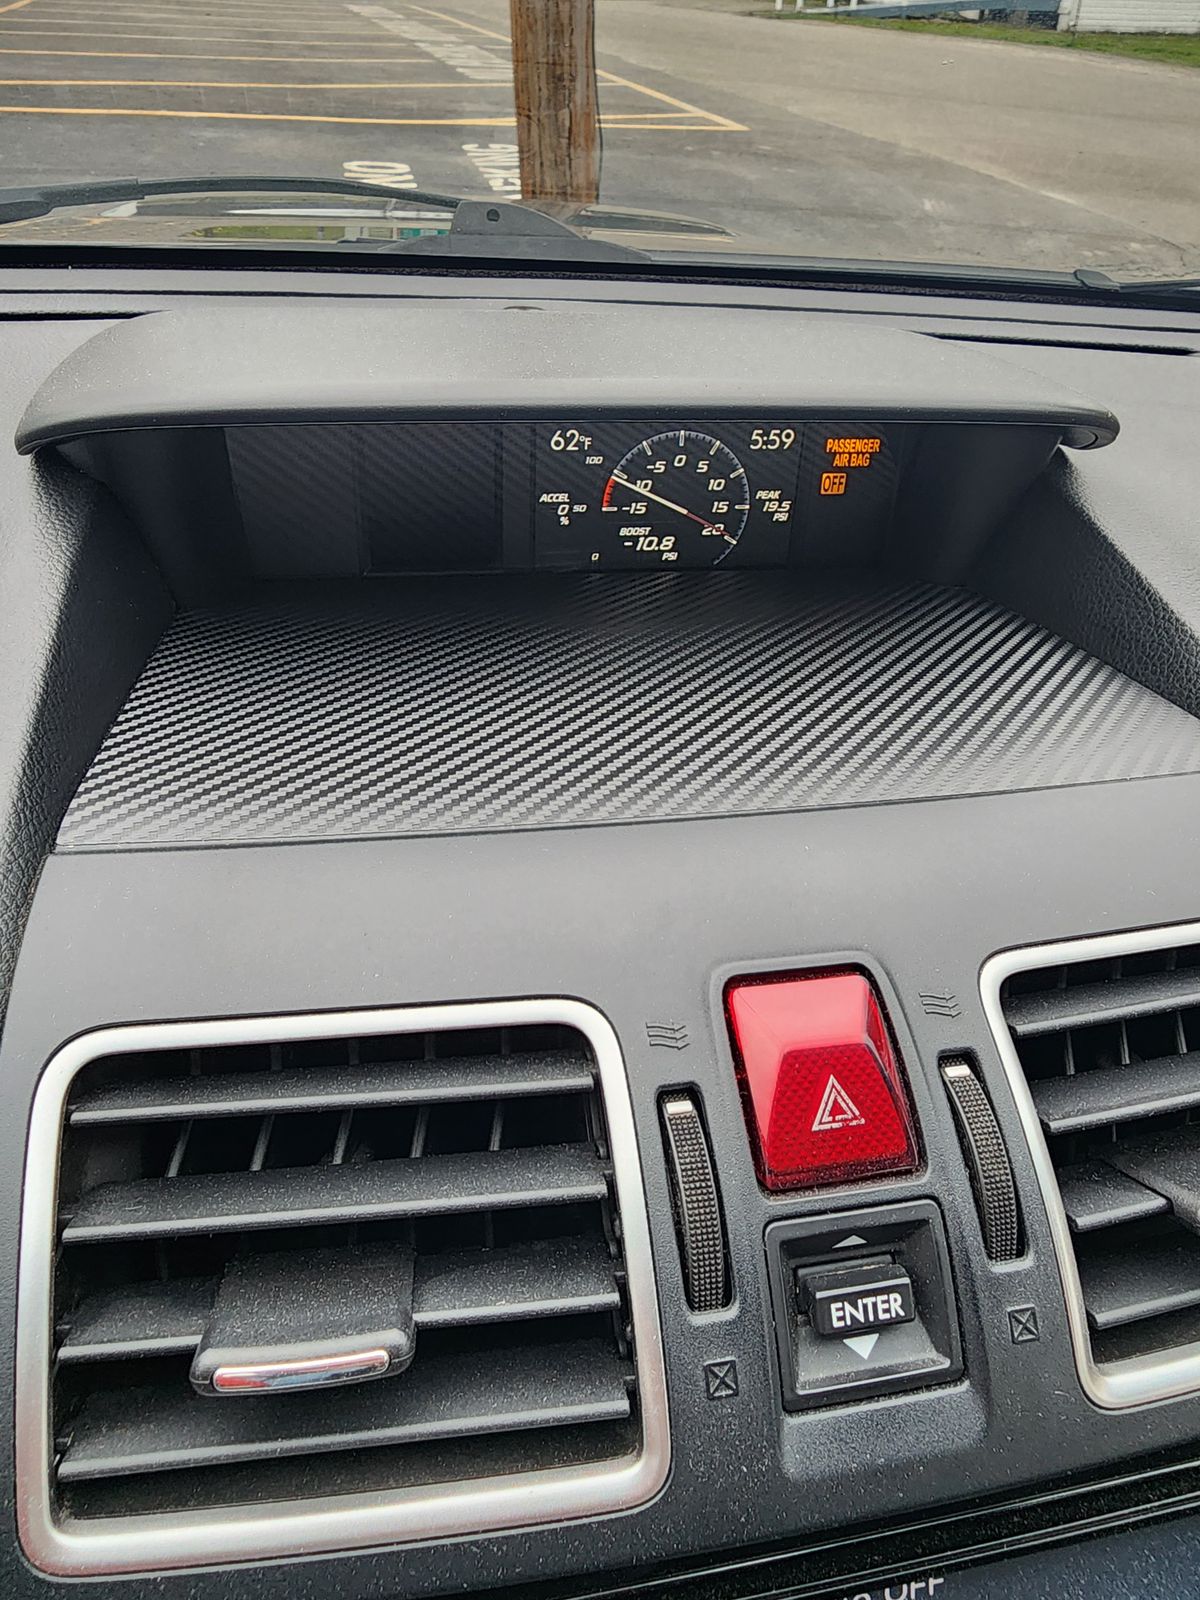
The plain, soft plastics used for the interior of the WRX / STI can look cheap. They actually scratched pretty easily as well. Add a darker, textured carbon fiber appearance with this simple vinyl modification.
CUSTOMER MESSAGE - "Got them just now, thanks for including a(n) extra set! I've had 2 sets of CF look ones from another seller and silver stars kept peeling and the carbon look faded really bad."
When purchasing vinyl overlays, keep in mind that not all materials are created equally. I use premium vinyl which has high initial costs, but are the industry standards for high quality materials. Also made in the USA. - Dragon Wrap™ Carbon Fiber Films (3D Carbon) is a 5.6 mil calendered vinyl film featuring a clear repositionable permanent acrylic adhesive on an air-egress liner. This film has excellent dimensional stability, outstanding durability and outdoor performance. - This repositionable permanent adhesive offers minimal initial bond growing to permanent bonds that facilitates application of large graphics. The air egress liner also aids in large graphic application. - Minimum application temperature is 40 degrees Fahrenheit. - Up to 5 year durability outdoors. Rated EXCELLENT for WATER RESISTANCE, HUMIDITY RESISTANCE, and SOLVENT RESISTANCE.
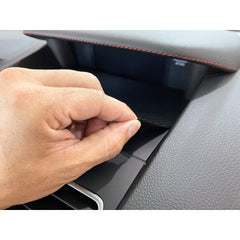
Clean the panel and prepare them it for install. Make sure they are clean and free of products like Armor All.
Start the installation by aligning it to the edge closest to you. From here you can press down in the center and push air bubbles out by moving back and out towards the sides.
Please look at the photos closely to see how we aligned it. Should you come across air bubbles that you just can't get out, grab a corner and pull it up carefully. Start to push the air out once again.
Easy application, I think it's a good spot to add a carbon fiber look for the interior.
Perfect fitment
5 second sticker install that really makes the dash look much better in my 2017 wrx
Makes the inside not so plane !
More Cashback
Get more cashback! Items are changing weekly. Anywhere from 1% to 20% Back in BuildBUX when you make purchases. Products
Free Money
Every month when you are charged your $4.98 subscription fee, you will get $15 in BuildBUX
Easy To Cancel
Cancel anytime, month to month terms.
Cashback
Get 1% back on every purchase on eligible brands.
Free
Completely free to use. Just place an order!